(continued from page 1)
Check online pricing from Musician's Friend
BR-8 Resources | Discount Gear
Preparing the New Drive
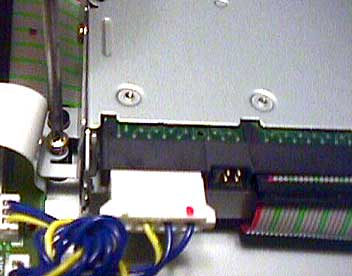
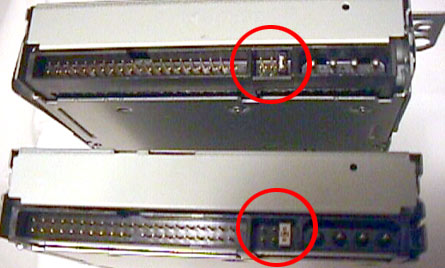 The Zip 250 drive must be configured as the "Master" drive. This requires that a jumper be placed at the position indicated in the photo. Use the Zip 100 drive as a guide. The label on the top of the drive also contains this information.
: : ||  Unscrew both metal mounting brackets, one on each side of the Zip 100 drive.
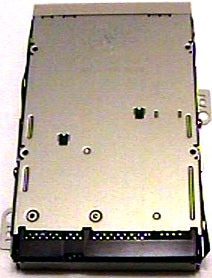
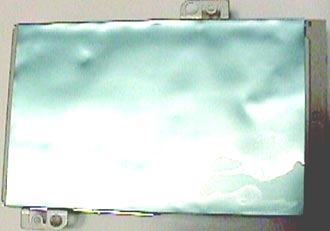 With the bottom of the Zip 250 drive facing up, and the static shield on, attach the two metal mounting brackets to the Zip 250. The drive brackets are installed over the plastic foil static shield, through the holes provided. Top and bottom views of the completely prepared Zip 250 drive are shown in the photos at right and above.
Completing the Installation 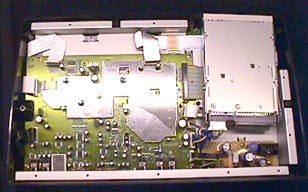
 Replace the bottom cover on the BR-8 with the serial number label facing up.
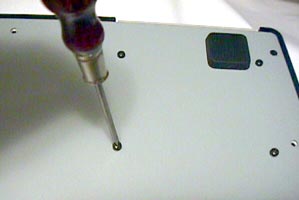
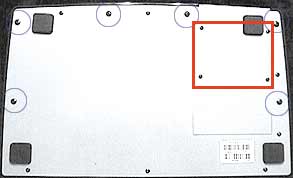 With the larger blade Phillips screwdriver, insert the remaining screws into the BR-8. Remember that the largest (sheet metal-type) screws go into the areas indicated by the blue circle in the photo at right.
Power Up!

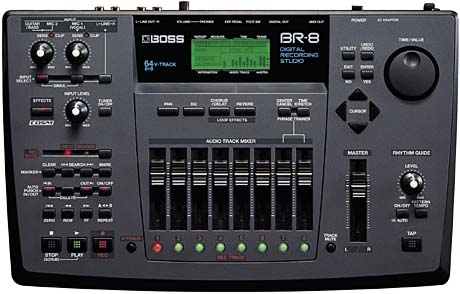
![]() Once the cartridge is initialized, take a look at the lower left corner of the BR-8 display. You will have something like 2 hours, 5 minutes, and 21 seconds of recording time available on the disk.
Once the cartridge is initialized, take a look at the lower left corner of the BR-8 display. You will have something like 2 hours, 5 minutes, and 21 seconds of recording time available on the disk.
Looking For a Boss BR-8?
Buy One at a Discount
Price Here
Add an Iomega Zip 250
Drive to Your BR-8 or Your
PC for Easy Backups
Musician's World Net | Blame Productions Mega Site
The data presented here is for informational purposes only. The user assumes all risks and liability for performing this, or any other project. Neither The Blame Productions, nor its owners, advertisers, or business partners shall be liable for any claim for personal or property damage. If the user is not confident of his/her ability to complete the project, the task should be performed by qualified personnel. This information represents the private opinion of the authors and has not been reviewed by Roland/Boss Corporation. Trademarks used herein are the properties of their repsective holders. Use of this site indicates agreement with our terms of service/privacy policy.